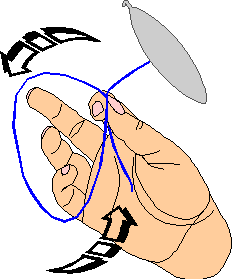
The First Half of a stitch.
These instructions are for left handed tatting.
If you are right handed and want to see right handed
instructions,
click here.
To start:
Hold the shuttle in your left hand and grab the end of the thread
with the right.
Wind the thread around your hand, behind your fingers, in the
direction of the arrows.
Catch the thread again between your right thumb and index finger.

Holding the thread in the right hand.
This is the basic position for all shuttle tatting.
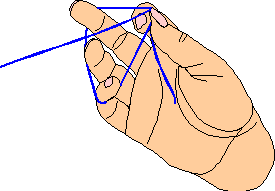
Now to make your first stitch.Hold your hands in front of you with the thread in the basic position on the right hand and the shuttle held loosely in the left hand.
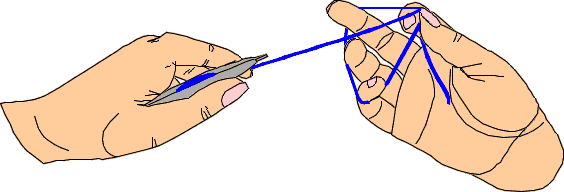
Tuck your left hand under the thread allowing the thread to drape over the back of your left hand.
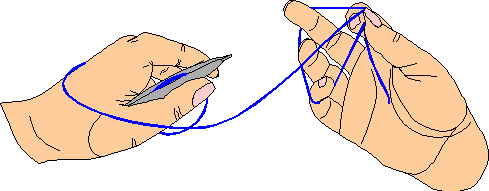
Pass the shuttle under the thread between your index and middle fingers on your right hand.
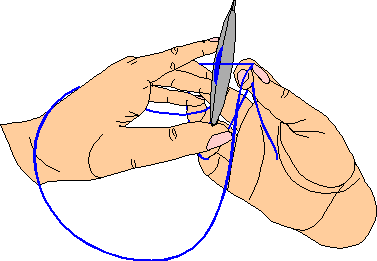
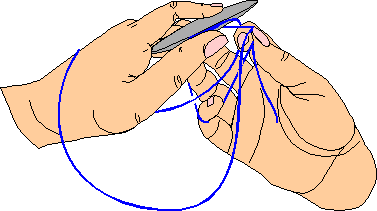
Pull the shuttle through the loop over the back of your left hand.
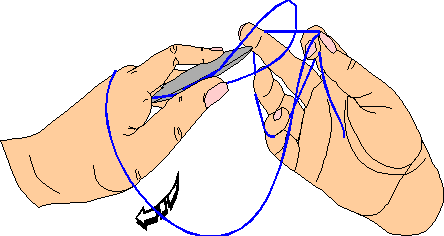
Now relax the tension on your right middle finger, just enought to give a little slack, not so much the loop comes off the right hand.
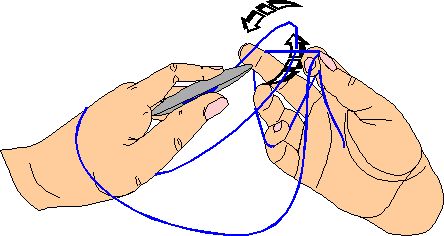
Gently pull with the left hand until the loop is transferred to the thread on the right hand.
The magnifying glass shows close ups of the important knot transfer.
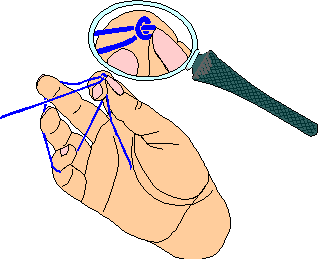
Like this:
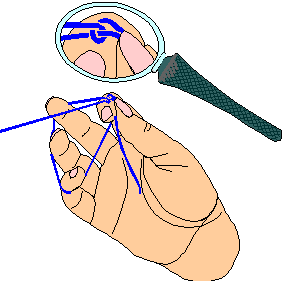
You have completed half of a stitch.
If this is confusing, try looking at the chaining instructions. I used two colors of thread to make the knot transfer stand out more.
Go to the second half of the basic tatting stitch.
Using CorelDraw!(tm) and Corel Photo-Paint(tm) I drew the pictures from scans of my own hands and wrote the text myself. I hold all rights to this page except the arrows and magnifying glass which are CorelDraw!(tm) clipart.
-Carrie Carlson