This is for right handed tatting. To see Picots for left handed tatting, go to the lpicots.html document.
You need to be familiar with making the basic tatting knot before going on to picots. Refer back to the begining pages if you need a refresher.
Picots are a staple of tatting. They give it the lacy look. They also are used to join rings together.
Here is how to form a picot.
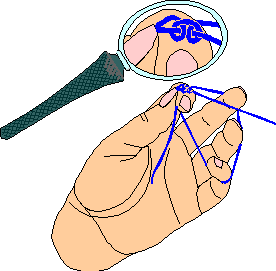
First make one complete stitch. Then, go on as if doing the first half of a regular stitch.

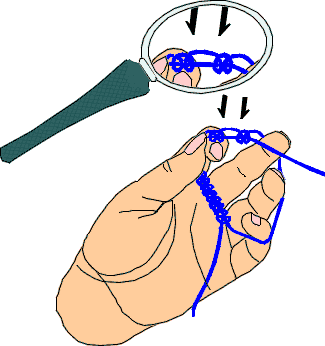
Leave a space between the new stitch and the
previous stitch.

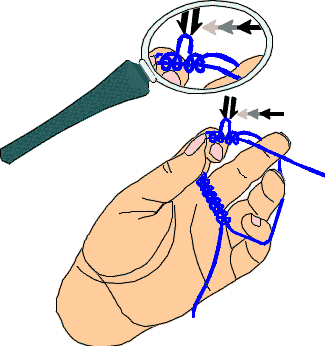
The amount of space you leave will determine
how big the final picot will be.

Slide the completed stitch over to the previous one.
Practicing is the way to get picots to be even.
Now you can go on to closing the ring.
Or back to Carrie's Home Page.
Using CorelDraw!(tm) and Corel Photo-Paint(tm) I drew the pictures from scans of my own hands and wrote the text myself. I hold all rights to this page except the arrows and magnifying glass which are CorelDraw!(tm) clipart.
-Carrie Carlson